Why a Good Brief Saves Time and Money
Every rendering studio works from the information it receives. When a brief is vague, the studio fills in the gaps with assumptions. Some of those assumptions will be wrong. Correcting them after renders are already produced means rework — which costs both time and, depending on the studio's revision policy, money.
A complete brief eliminates ambiguity before it becomes expensive. It also compresses the project timeline significantly. When a modeler knows the exact dimensions, materials, scene direction, camera angles, and delivery format from day one, they can work through the entire project without stopping to ask clarifying questions. That focus translates directly into faster turnaround and higher accuracy on the first draft.
Think of the brief as the single source of truth for the project. Every decision made during modeling, texturing, lighting, and scene composition should be traceable back to something in the brief. When it is, the project runs smoothly. When it is not, confusion follows. If you are briefing a lifestyle render specifically — for Amazon secondary images, Wayfair, or your own storefront — our complete guide to lifestyle 3D rendering explains the platform requirements and scene types that inform what you put in the brief.
Studios that receive a complete brief with reference images, dimensions, and a style direction deliver first drafts that require 40–60% fewer revision rounds compared to projects that begin without one. That translates to 1–3 fewer full days of turnaround time on a typical furniture project.
Section 1: Product Details
This is the foundation of every furniture rendering project. Without accurate product information, the 3D model will be an approximation at best. Every brief should include:
- Product name and SKU — helps both parties reference the correct item throughout the project
- Full dimensions — overall width, depth, height, and any item-specific measurements (seat height, arm height, cushion thickness, shelf spacing)
- CAD files or technical drawings — DWG, DXF, STEP, OBJ, or SKP files if available. If not, provide multiple high-resolution photos from different angles.
- Material specifications — fabric name or supplier code, wood species and finish, metal finish type (matte, brushed, polished), and color codes (Pantone, RAL, hex) where applicable
- Colorway variants — if you need the same product rendered in multiple color options, list all colorways and specify which materials change between them
For a detailed breakdown of how to prepare product files, read our guide on what files you need to start a rendering project.
Section 2: Scene and Mood Direction
Once the studio knows what to model, they need to know how to stage it. Scene direction is where many brands underspecify — and where the widest creative divergence tends to occur.
Your brief should specify:
- Lifestyle or silo? — Silo renders (white background, product only) are required for most marketplace main images. Lifestyle renders (staged scene) are used for brand campaigns, social media, and editorial content. Most projects need both — for a full breakdown of when to use each, see our article on silo vs. lifestyle furniture renders.
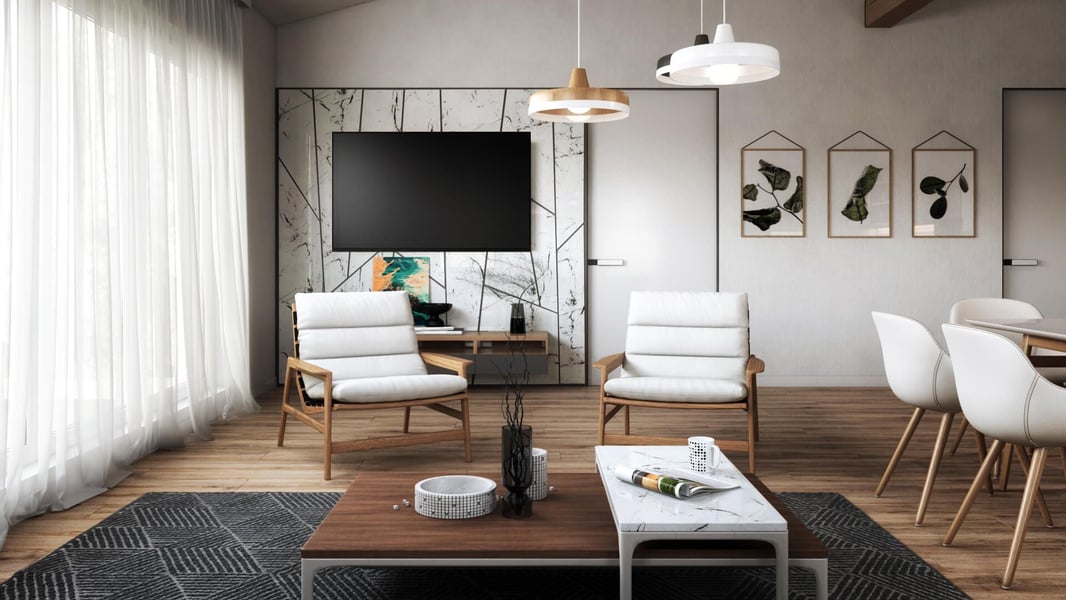
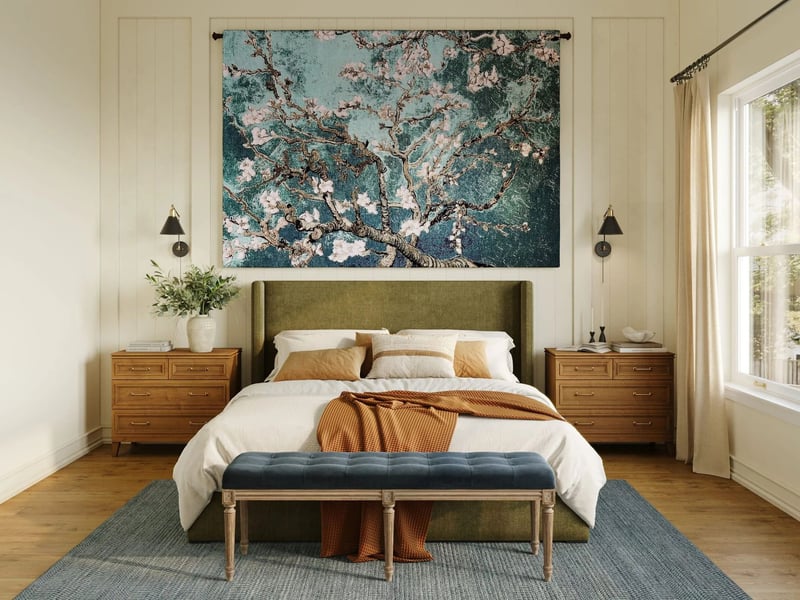
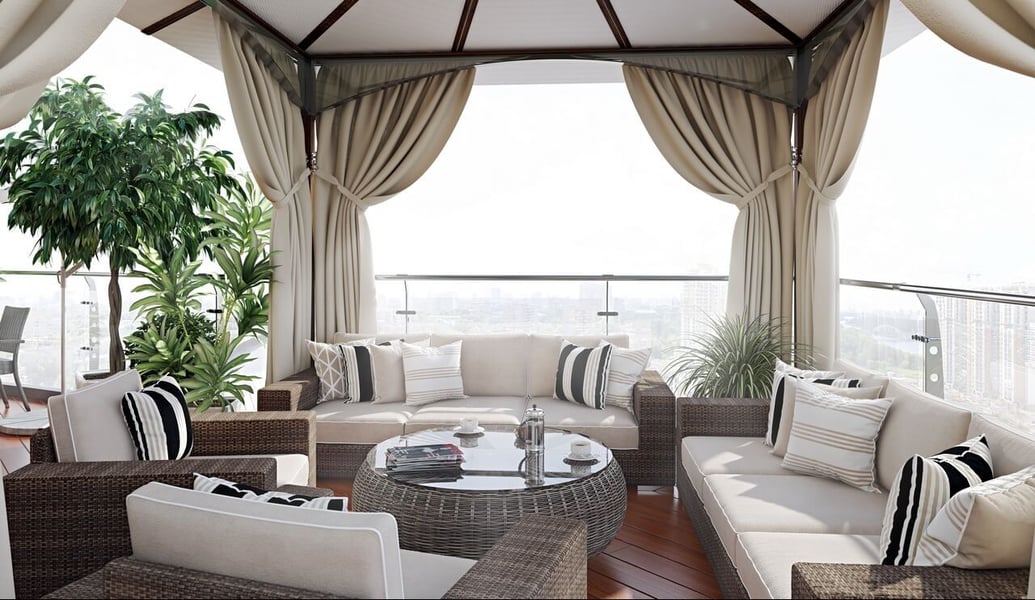
- Scene setting — if lifestyle, describe the environment: living room, bedroom, outdoor terrace, kitchen, office? Be specific about the aesthetic: contemporary, mid-century modern, Scandinavian minimal, coastal, industrial.
- Color palette for the scene — what colors should the walls, floors, rugs, and props be? Even a rough direction (warm neutrals, cool whites, earthy tones) helps enormously.
- Mood references — links to Pinterest boards, competitor websites, brand look books, or magazine editorial images that capture the tone you are going for. This is the single most useful thing you can include in a brief.
Section 3: Camera Angles and Shot List
Define the number of renders you need and what each one should show. Do not leave camera angles to interpretation — a three-quarter front view from a medium height reads completely differently than a straight-on low-angle shot, and both serve different marketing purposes.
Common camera setups for furniture CGI:
- Three-quarter front — the standard product hero shot; shows depth and gives the most complete read of the product
- Straight-on front — works for symmetrical pieces and marketplace thumbnail formats
- Side profile — shows silhouette and leg design; important for chairs and sofas
- Detail / close-up — fabric texture, joinery, hardware, or any design feature that differentiates the product
- Full-room wide shot — for bedroom sets and living room groupings; shows the product in context
- Top-down overhead — works well for dining and coffee tables; shows the tabletop and full footprint
Section 4: Deliverable Specifications
Different platforms have different technical requirements. Specify these upfront so the studio delivers the right files without a separate conversion request:
| Platform | Format | Minimum Resolution | Background |
|---|---|---|---|
| Amazon main image | JPG | 2,000 × 2,000 px | Pure white (#FFFFFF) |
| Wayfair hero image | JPG | 3,000 × 3,000 px | White or lifestyle |
| Shopify PDP | JPG / WebP | 2,000 px min | White or lifestyle |
| Instagram (square) | JPG | 1,080 × 1,080 px | Lifestyle |
| Print catalog | TIFF | 300 DPI at print size | White or lifestyle |
Our full-service CGI workflow delivers all standard formats for eCommerce and print. If you have specific requirements from a retailer partner, include those specifications in your brief. For brands whose products will be sold on Amazon, our article on optimizing Amazon furniture listings with 3D renders covers the exact image specifications each slot in the listing requires. If the project involves outdoor furniture, it is worth reading our guide to outdoor furniture 3D rendering first — the material and lighting details unique to exterior scenes should be addressed explicitly in the brief.
Section 5: Timeline and Revision Expectations
Set realistic expectations in the brief itself. Specify when you need the first draft, how many revision rounds are included, and your final deadline. Clear timeline expectations on both sides prevent the last-minute rushes that drive up costs and reduce quality.
A few practical notes on timing:
- Complex upholstered pieces with multi-part frames typically require more modeling time than simple case goods
- If your project involves multiple products for a collection launch, sequence the work so that products with shared scene elements (room, lighting, props) are grouped together
- Allow at least one business day between submitting revision feedback and receiving a revised draft — quality studios do not rush texturing and lighting adjustments
Reference Images: The Single Most Important Brief Element
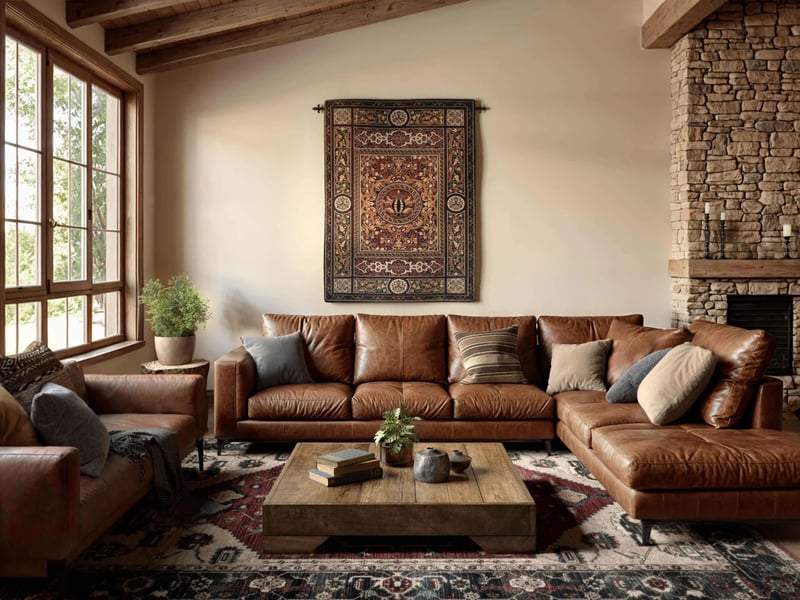
If you only have time to do one thing before sending a brief, make it this: find 5–10 reference images that show the visual tone you are aiming for. These do not need to be renders of your specific product. They can be lifestyle photos from competitor brands, editorial images from design magazines, or shots from your own previous campaigns. What matters is that they show the lighting, styling, color palette, and mood you want.
Reference images short-circuit the most common source of creative misalignment. "Warm and cozy" means something different to every person on your team and everyone at the studio. A well-curated mood board means the same thing to everyone.
How to Send Large Files: Practical Tips
CAD files, high-resolution swatch photos, and reference image boards can quickly exceed email attachment limits. Use these tools to transfer files cleanly:
- Dropbox or Google Drive — create a shared folder for the project and give the studio access. Keeps everything organized in one place throughout the project.
- WeTransfer — good for one-time file drops. Free up to 2 GB per transfer, paid plans for larger files.
- Notion or a project management doc — for brands doing ongoing rendering work, a shared Notion page with all product specs, brief templates, and reference boards creates a living document the studio can reference for every project.
Brief Template: Fill In and Send
Furniture CGI Project Brief — Quick Template
Ready to Get Your Furniture CGI Quote?
Send us your product specs and we'll prepare a personalized rendering quote within 24 hours.
Request a Free Quote →